Google Docs is a go-to tool for any CurlyHost project. From start to finish we use this platform to collect information from clients with a customized questionnaire, share project links, and so on. In this guide, we will go over some of the features of Google Docs and two of the main documents CurlyHost will send your way when starting a new project.
Please Note: If you are completely new to Google Docs check out the Quick Links below for an overview guide on how this platform works. And head on over to Google Help Center for any additional questions.
Type Of CurlyHost Google Documents:
1. Customized Questionnaire
We want to know you and your business to ensure that we create something together that represents your brand authentically. And nobody knows your business better than you.
The Customized Questionnaire is a document with specific prompts in an effort to determine any services you need. Going over items such as brand development, website design, functionality, content editing, etc. This document is key to capturing your voice and helping narrate the vision for your brand. As well as sorting through details and next steps for your project.
How do we create this Customized Questionnaire document?
First we will send you to our Kickoff Questionnaire. This quick form takes about 5-10 minutes to fill out and will help us determine what types of questions to dive in deeper with and what other items might not be relevant to your busniess needs.
2. Project Plan
Once you filled out the Customized Questionnaire you will then be sent a Project Plan document. This document will be the working document for your project moving forward.
Here you will be able to see and adjust your website Site Map, get access to your website wireframe, website pages, and so on. Your opinion matters! As we are building out the internal pages of your website you’ll get to leave comments and feedback. And even better… see changes in real-time!
Quick Links For Google Docs:
Getting To Google Docs
To work in Google Docs you must have an account with Google Office Suite. If you have a Gmail account, you already have access to using other Google tools such as Google Docs, Google Sheets, Google Slides, Google Forms, etc. (this is a FREE service) So first sign in to your account.
Create A Google Document
Once signed in, you can create a new document by clicking the ‘Blank’ template (or by selecting a template already created).

After clicking the ‘Blank’ template, a new page will open that looks very similar to a Word document or email (if you’re familiar with those platforms).
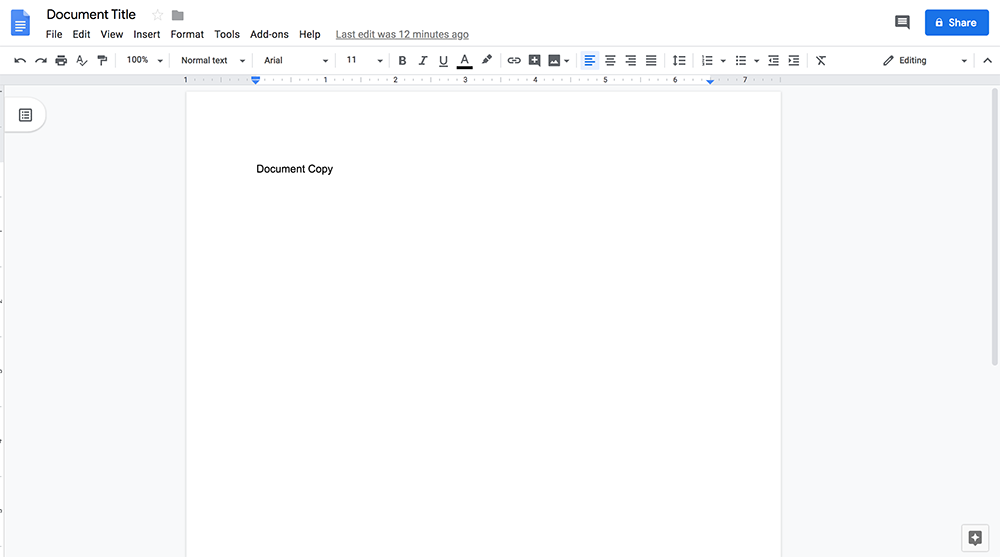
Make sure to enter a document title, this is what your document will be saved as (and can be edited at any time).
View Document Outline
A great feature Google Docs offers is creating an outline. An outline can show the main points of a document and even link to each title making document navigation simple.
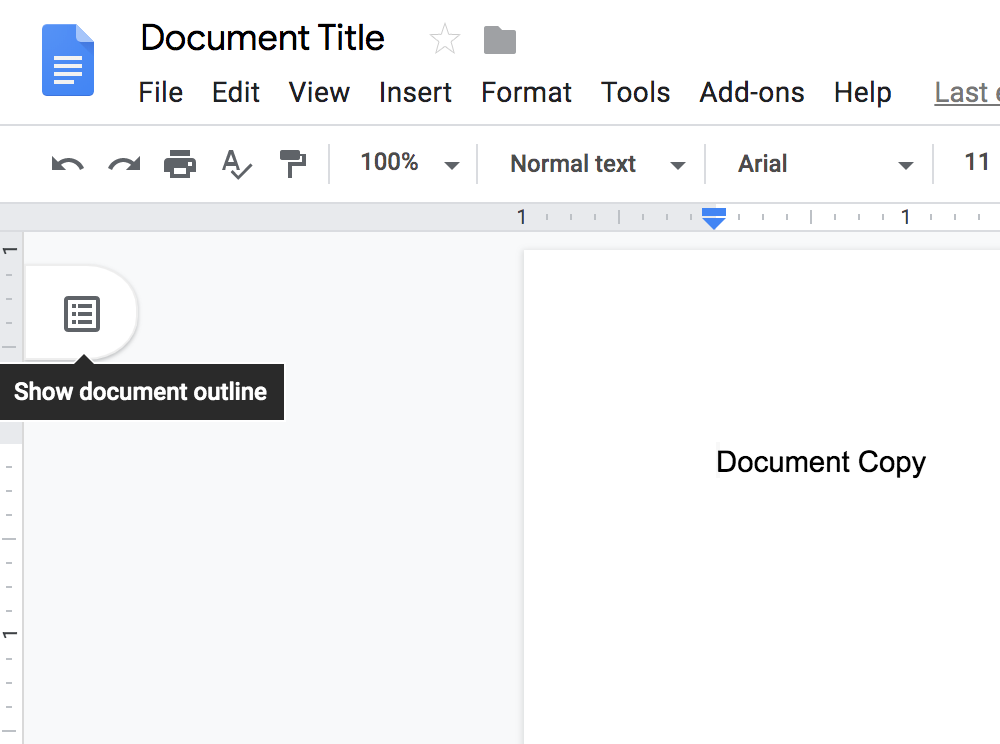
There are two ways to view an outline:
1. Click the tab on the left side of your screen:
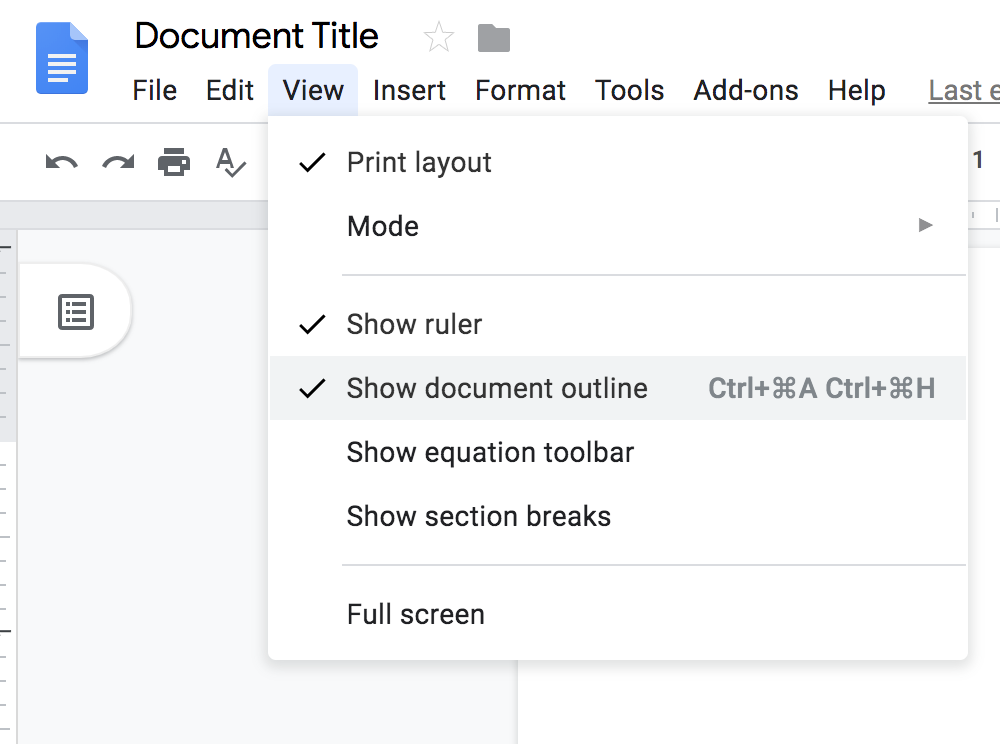
2. Click ‘View’ > Show Document Outline:
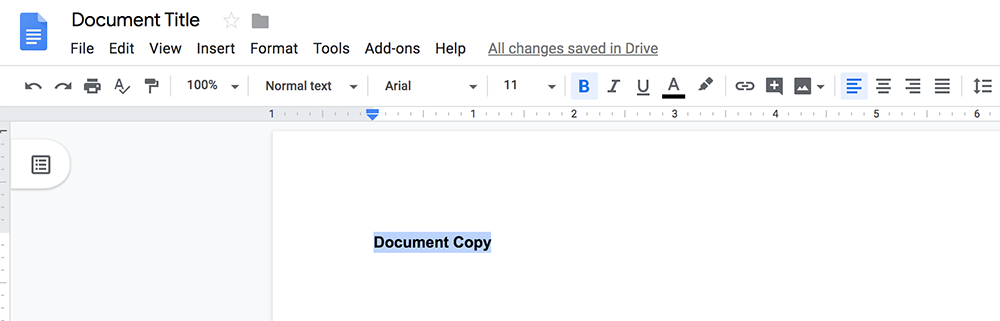
The outline of a document is automatically created when you are typing out your copy. By setting your text as headers (different font sizes) you will create outline titles/links.

EXAMPLE: In this guide (if you are viewing it in Google Docs) – when you click on the outline you’ll see each topic we talk about. By clicking on the different titles in the outline you will be brought to that specific section in the document.
Writing & Text Features
EXAMPLE: If you want to bold text, highlight the text you want bolded and click the bold icon:
Adding Comments
When reviewing a document, comments/suggestions can be very helpful to leave notes for others going through the same document. It is a feature that allows you to make notes without making adjustments to the actual document. There are a couple of ways you can do this.
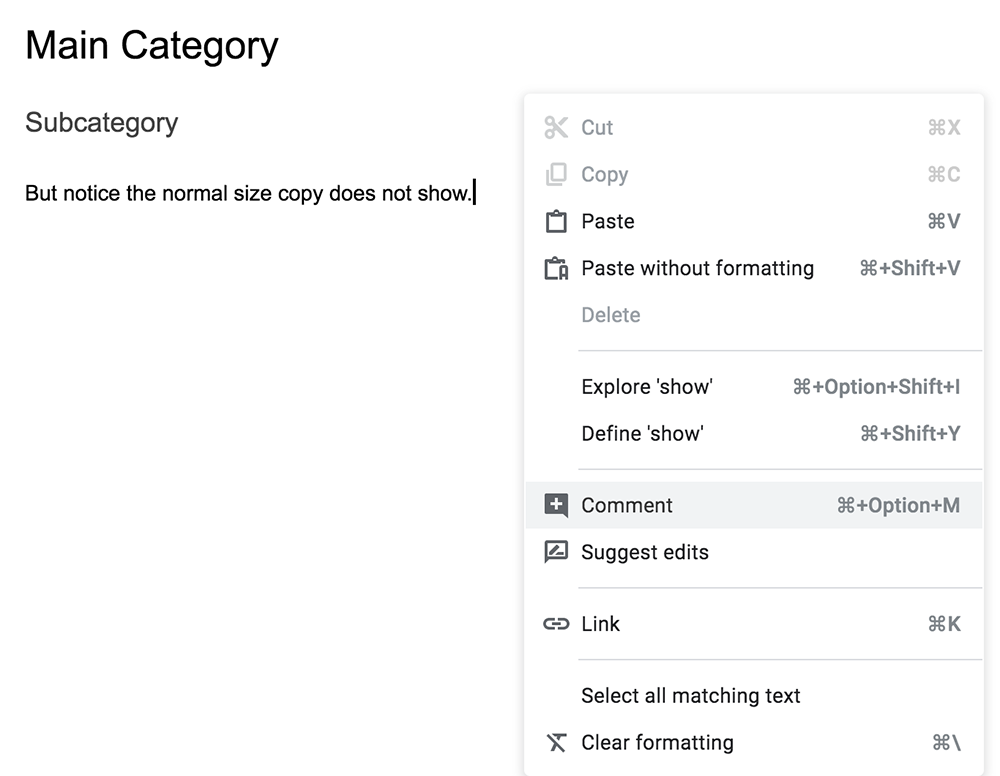
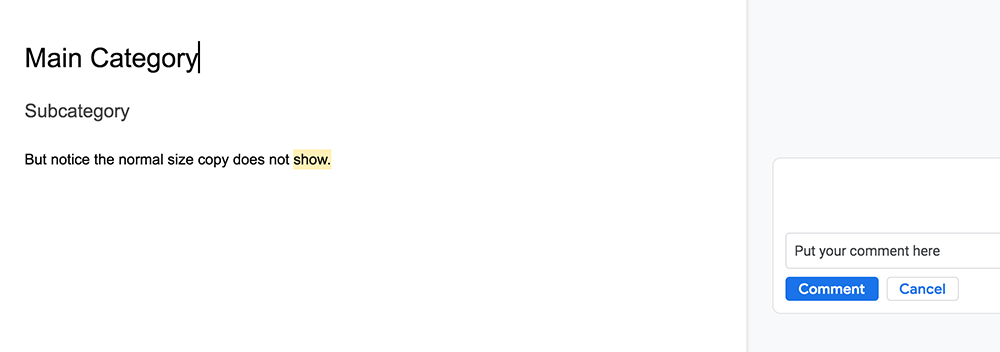
1. Have your mouse in the section you want to comment on. Left-click, and click on ‘Comment’. That will highlight the section you want to comment on.
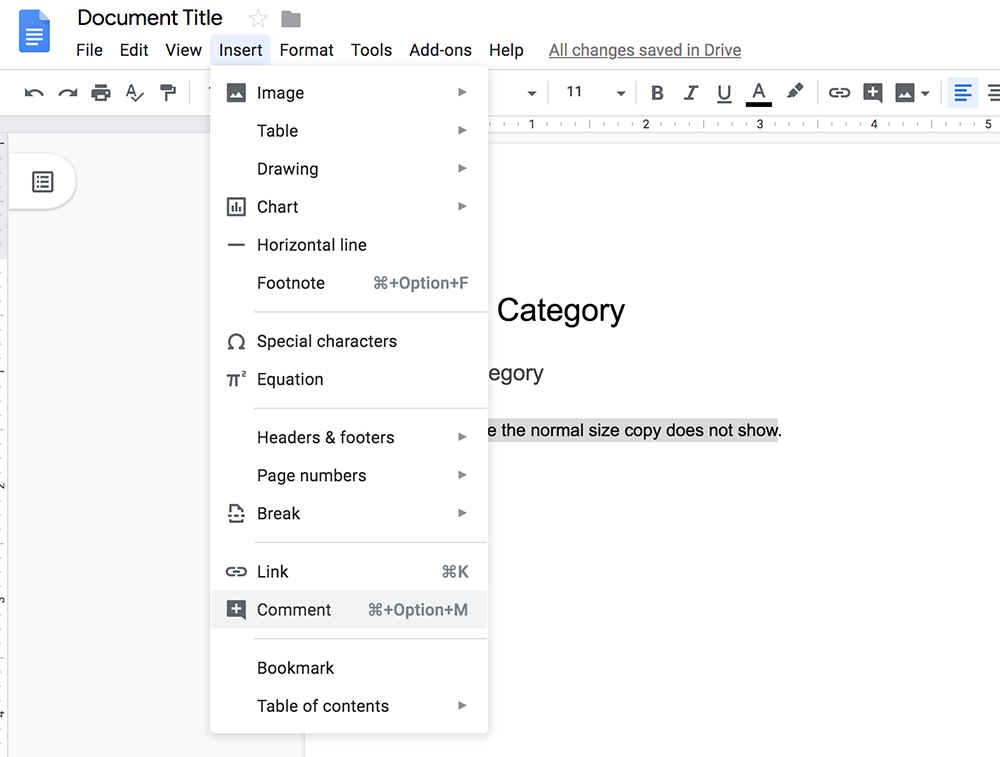
2. Highlight the text you want to comment on, go up to ‘Insert’ > ‘Comment’, and type your comment in that same text box.
Once a comment is made, other editors can make further notes on that same stream, resolve/remove or create a new one.
Sidenote: If you want to make document comments but want them directly on the pages, make the text a different color. For example You can highlight what edits have been made and write in red what needs to be done. This is another great way to make notes when going through website revisions.
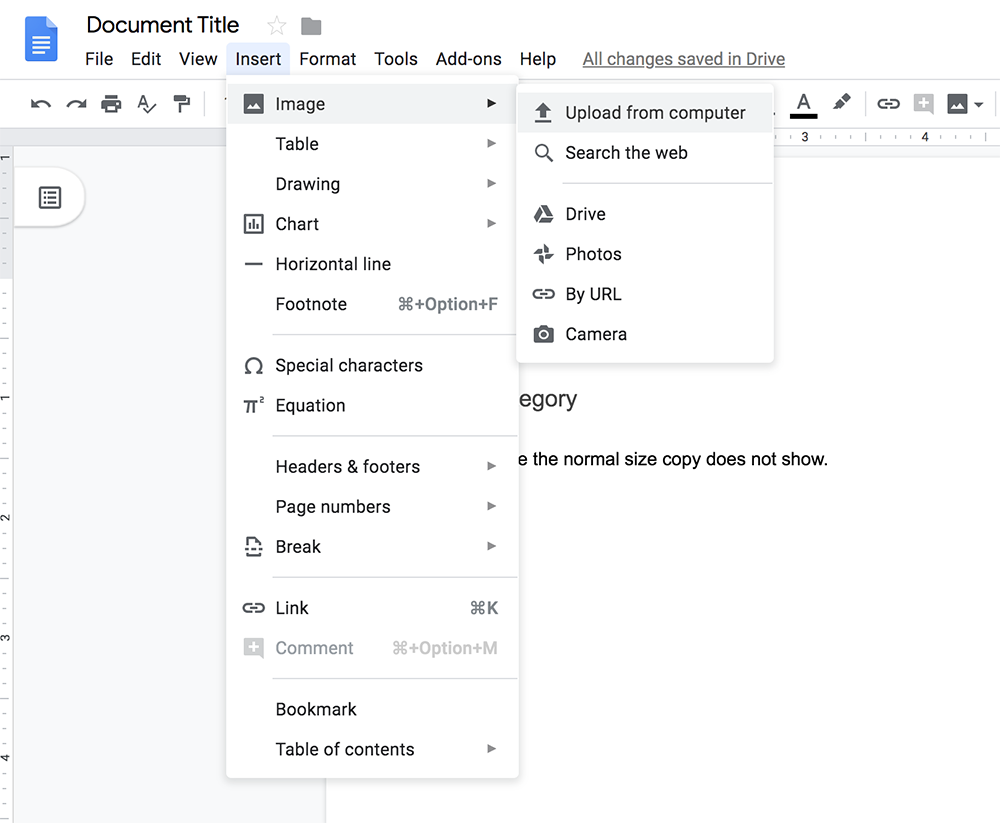
Inserting Images
Share / Save Document
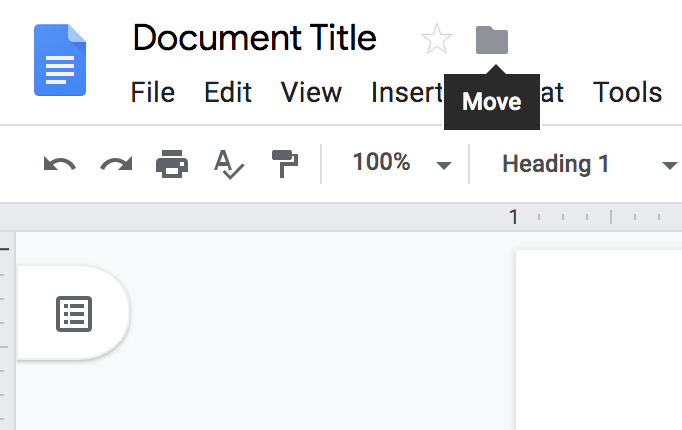
SAVE: When creating documents they will automatically be saved to your ‘Docs Home’ (access by clicking the blue paper icon in the top left corner of your screen). You can also save it to a specific folder on your computer or in Google Drive. To save in a specific location, click the light gray folder and select a location. Once the location is selected click the blue ‘Move here’ button.
DOWNLOAD: If you need the file type to be a PDF, Word Document, etc. click on on ‘File’ > ‘Download’ > and then whatever file type you want to save as.

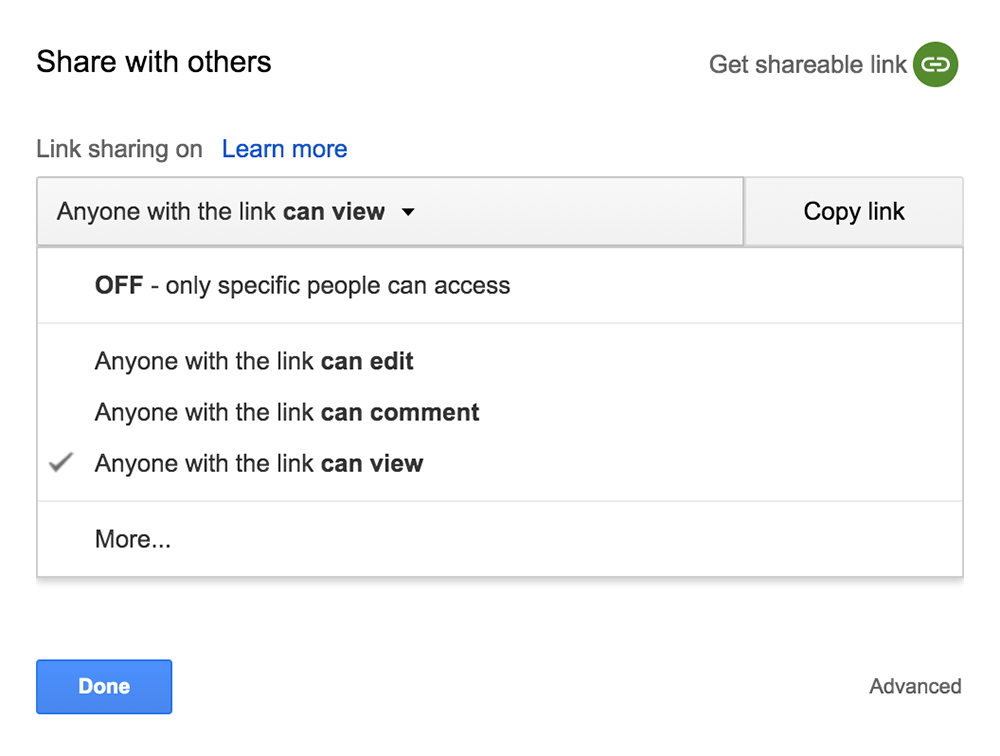
SHARE: Sharing allows other people to access your document, edit your document, or download your document. In the top right corner of your screen, click the blue share button. That will open a popup with a link. That link can have different access points by selecting the drop-down ‘Anyone with this link…’ can edit, comment, or can view. That way you can share documents with someone to just read and comment if you don’t want them to make adjustments.