


How often do you tune up your car? You know, that really expensive piece of equipment you rely on daily to get you all the important places you need to go? Websites are kind of like cars. When they’re working, we tend to forget about them but when they break we’re left stranded.
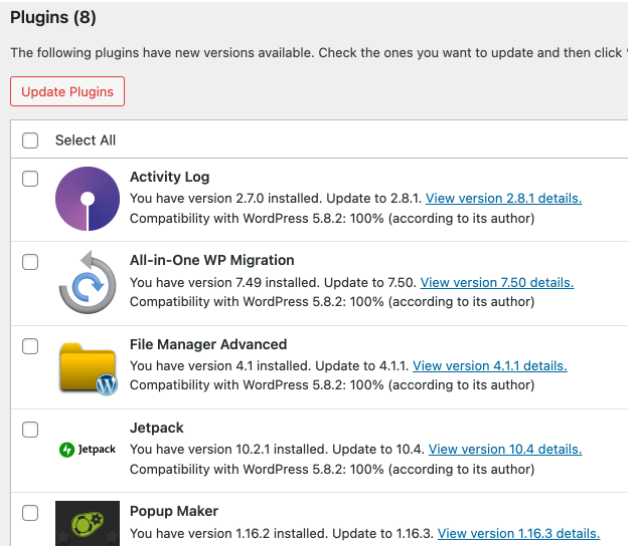
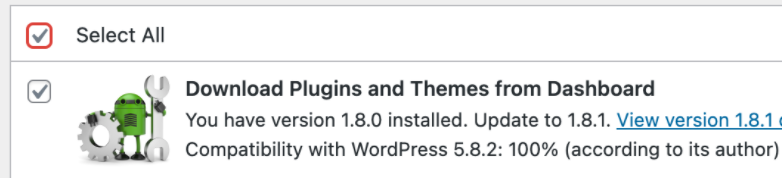
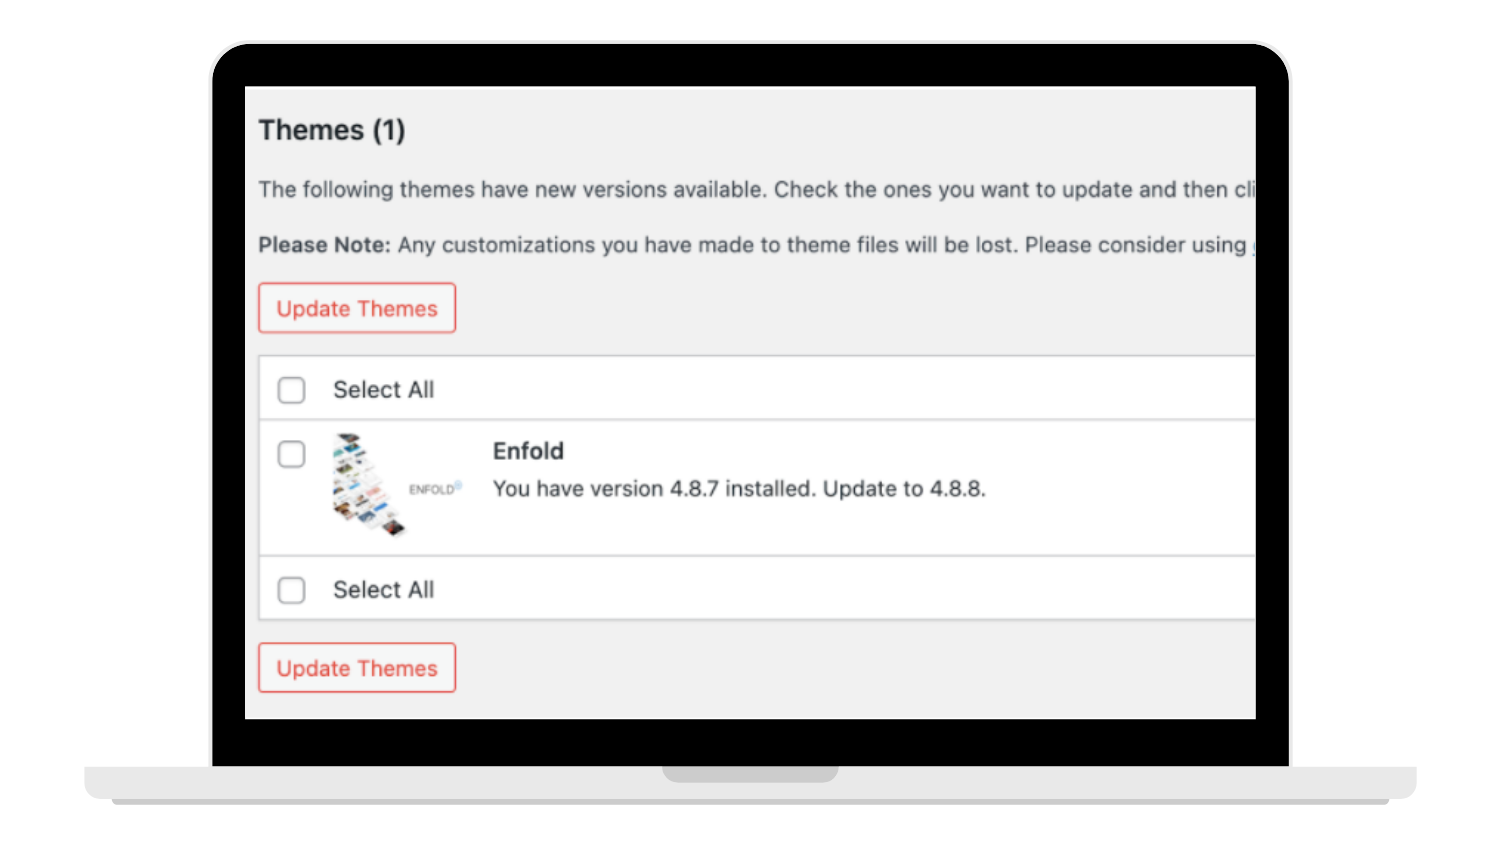
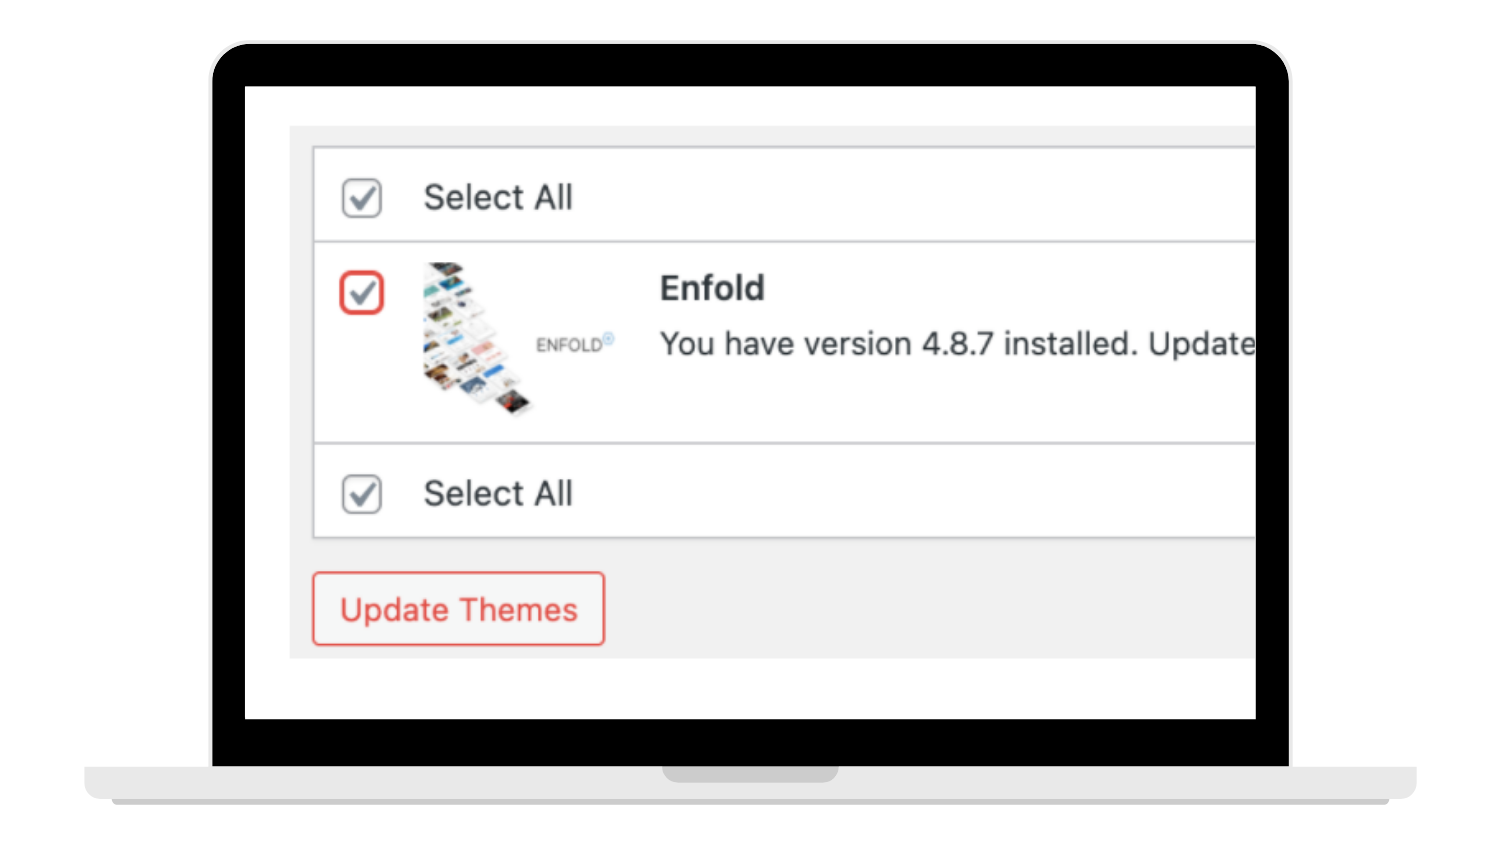
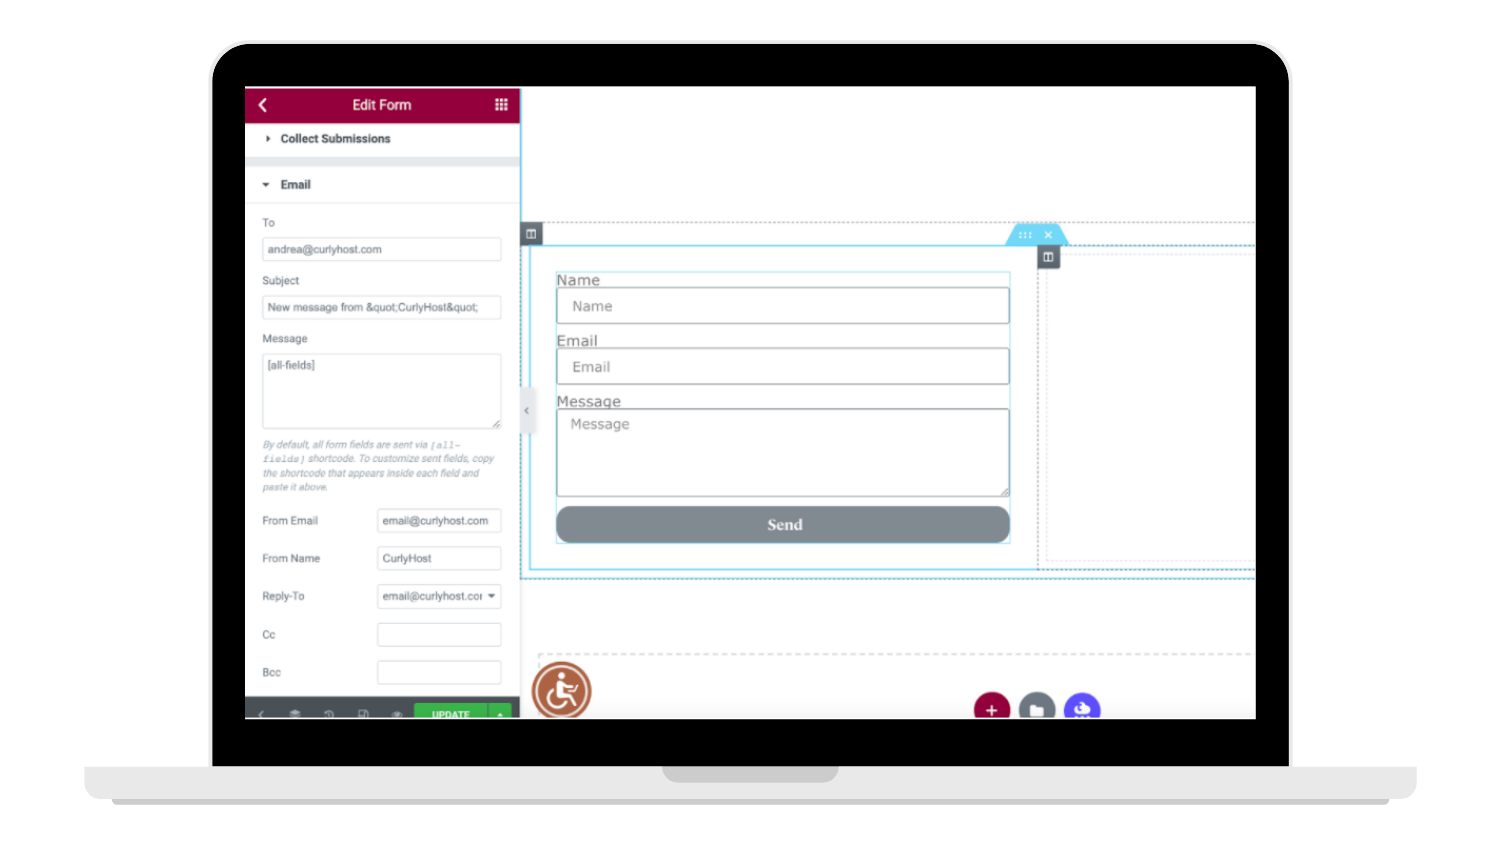
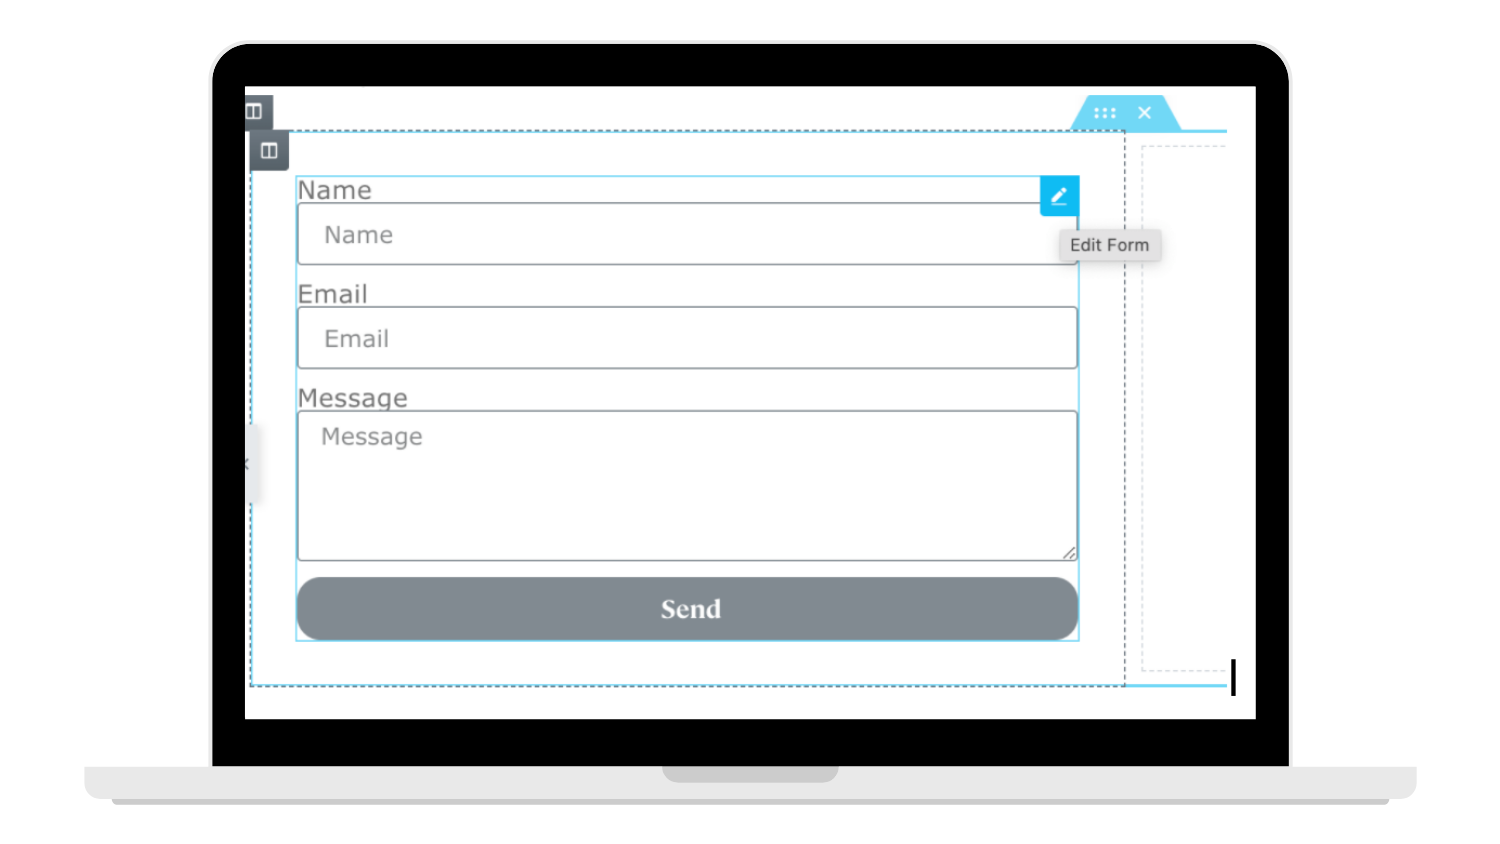
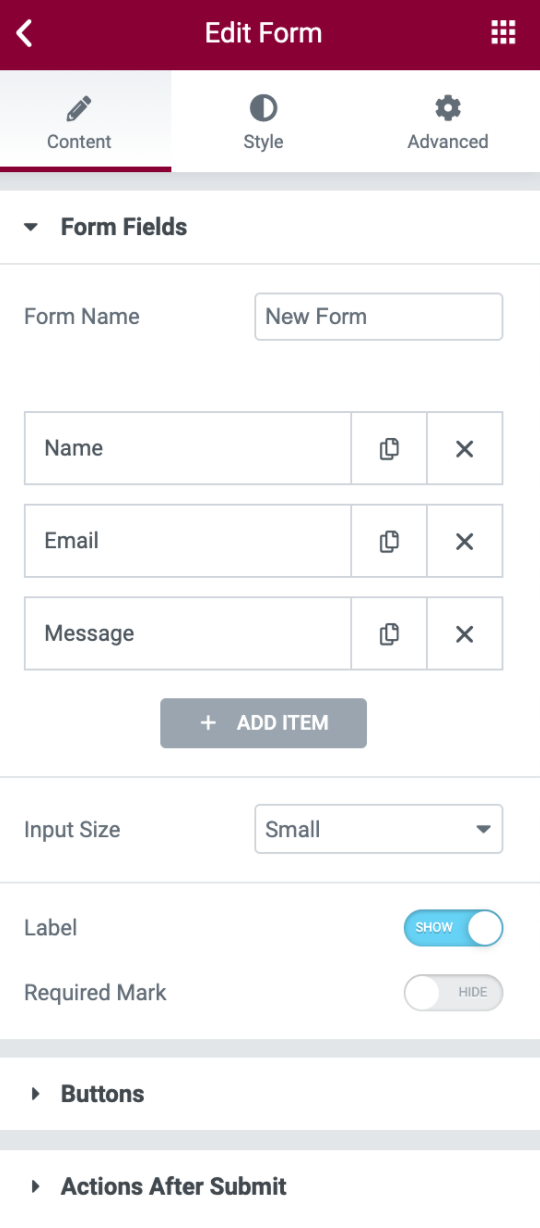
Do you have a text edit that needs to be made on your website page? Follow this step-by-step guide to learn how!