Before we begin, make sure you are logged in to the backend access link you received when your website launched.
To read more about accessing the backend of your website click here.
If you are already on the page you want to edit, click here to jump directly to editing text.
How do I access the page I want to edit?
To find the page, click on ‘Pages’ using the sidebar navigation. That will open a page that lists all the pages currently listed on your website:
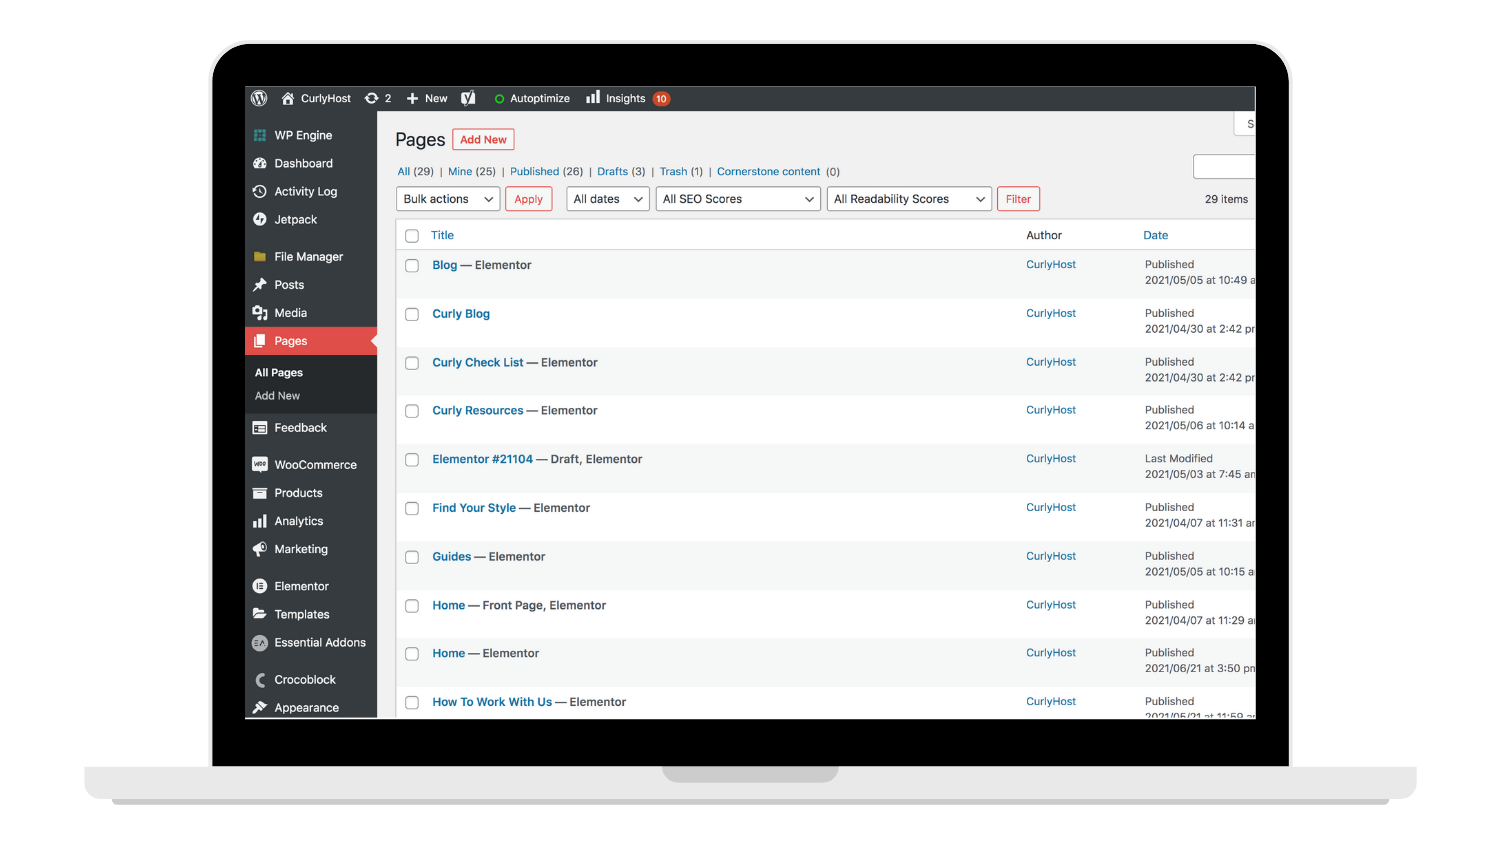
Click on the page title or the ‘Edit with Elementor’ option that appears in the submenu when you hover over the page title:

*Note:
If you clicked the title, it will lead to the WordPress classic editor for that page, where you will then need to click on the ‘Edit with Elementor’ button.
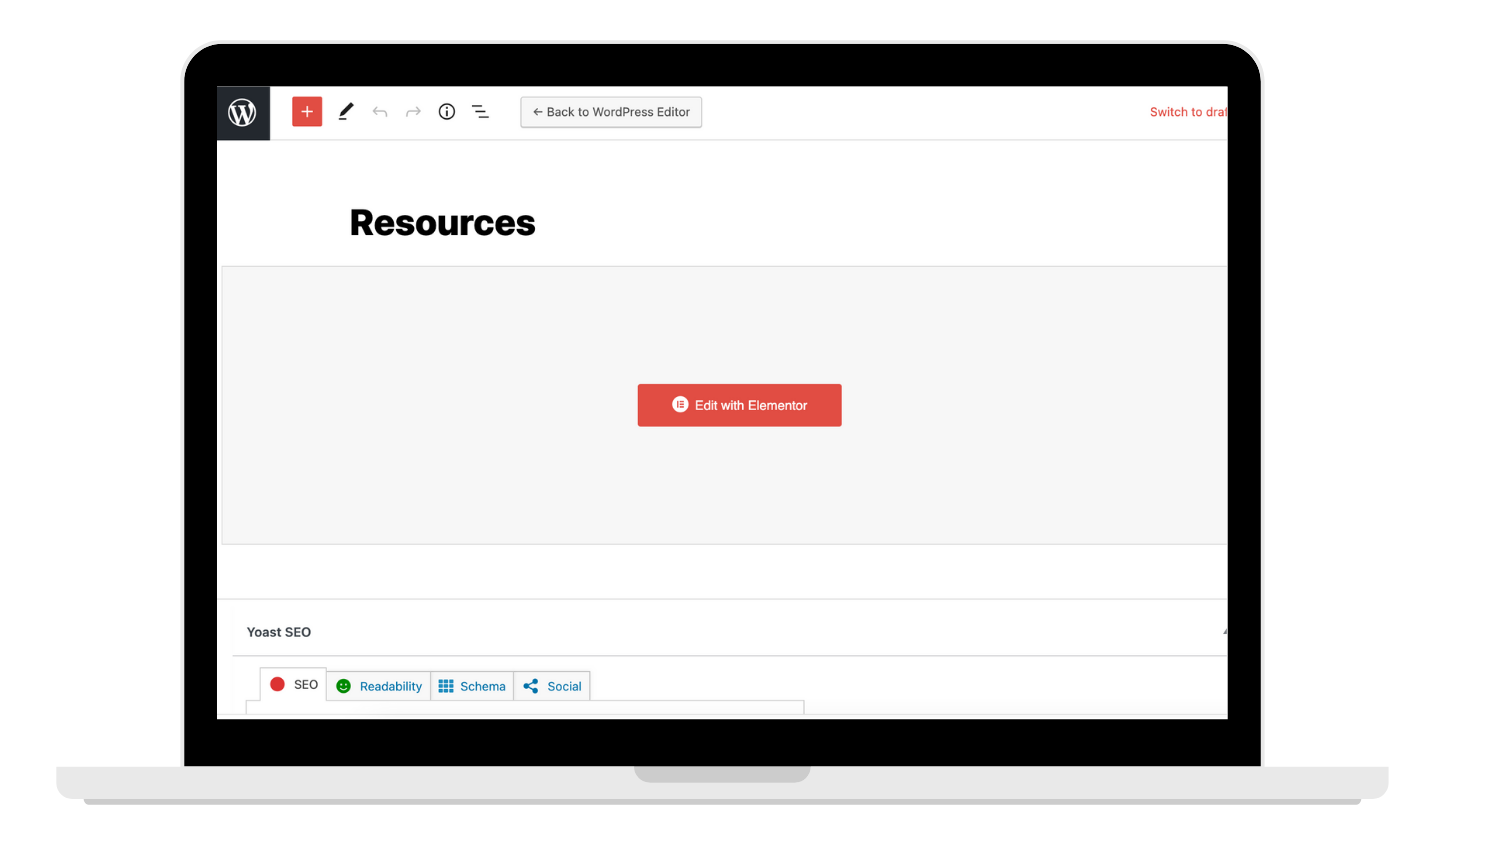
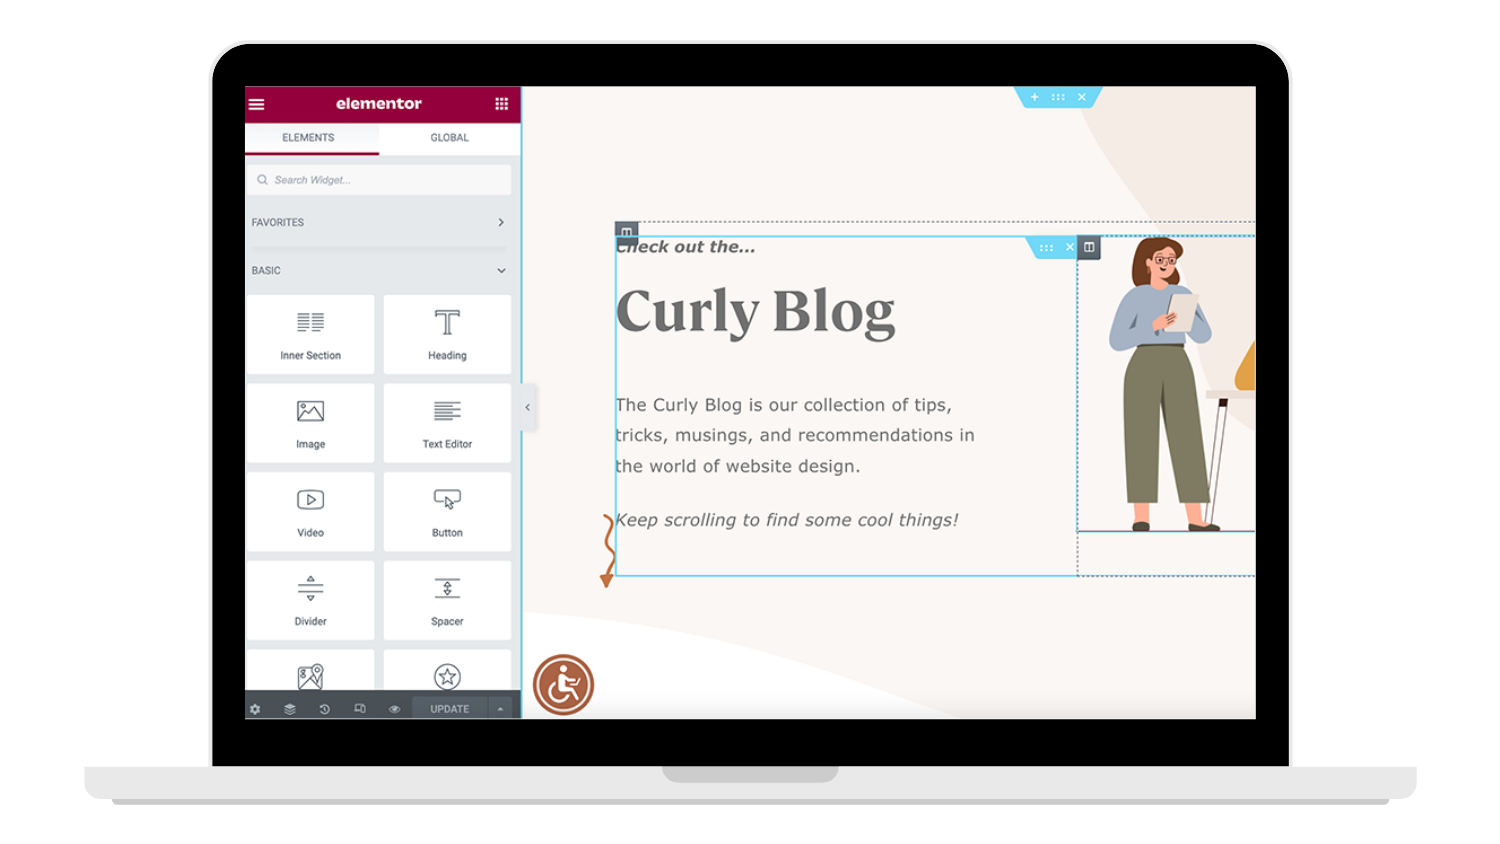
Once clicked, it will direct you to the super-smooth, easy-to-use Elementor Page Builder.
Note:
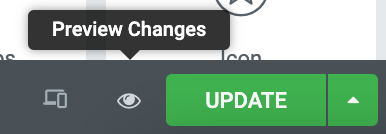
This is a backend preview of the live site and is not an exact match to what the frontend user version of the site looks like. The backend preview will have a smushed look since it is not able to display the full width of your screen with the editor tools active. To see a preview of your changes in the user version of your site, click the ‘Preview’ button to the left of the green ‘Update’ button at the bottom of your editing tools. This will open a new tab without the editing tools that allows you to see your changes before making them live.
From here, we’ll show you around all the fun widgets that hold your text and how to find the content you need to change.
Where's my content?
Pages inside the Elementor Page Builder are laid out as sections that contain widgets. Widgets are the individual components that hold your content. We’ll walk you through each one, but if you know what you’re looking for, feel free to use the menu below to jump directly to the section you need.
Note:
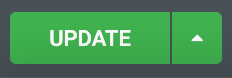
ANY TIME YOU MAKE A CHANGE TO A PAGE, MAKE SURE TO SAVE THE PAGE. To do this - click the green ‘Update’ button at the bottom of the editing sidebar. Clicking the update button will make your changes on the live website.
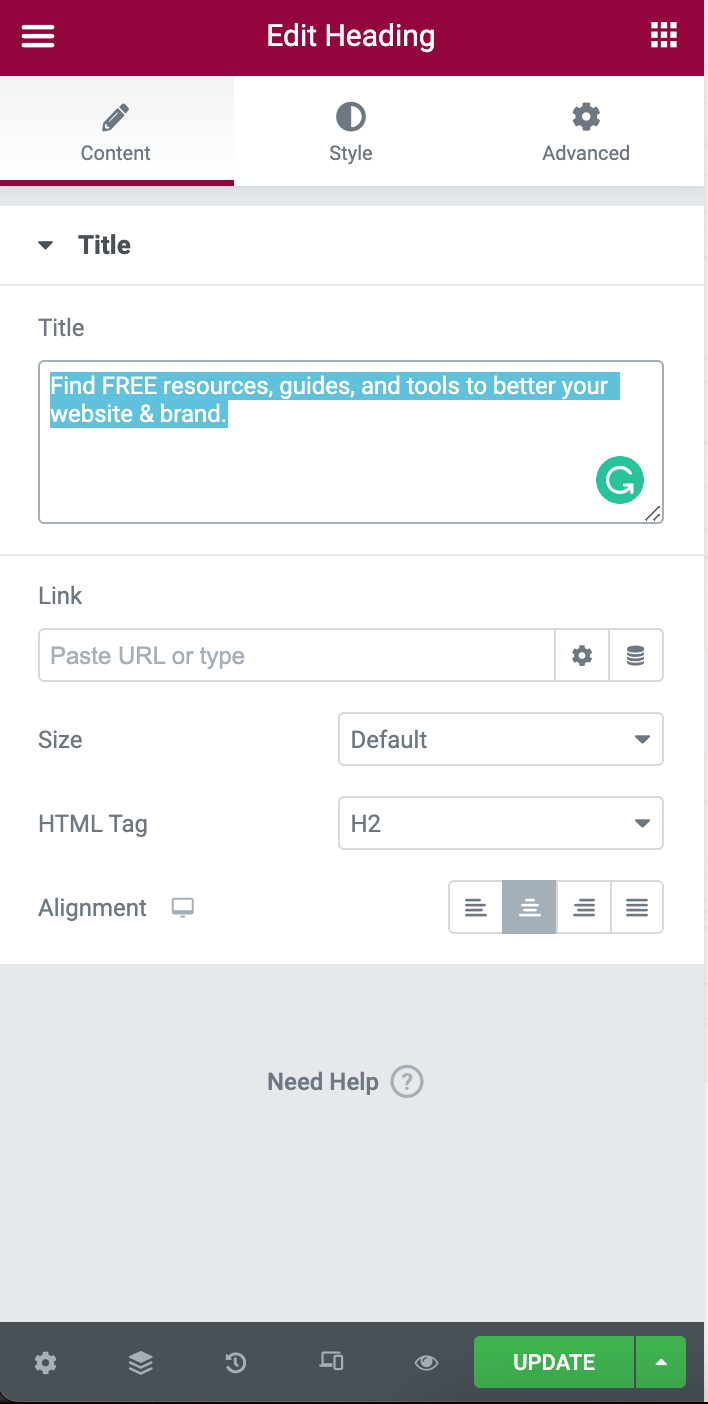
Headings
To edit any widget, hover over the area with your cursor until it is highlighted with a thin blue line. Once it is highlighted, a small editing icon will appear in the top right corner of the box. Click on the highlighted widget or the blue icon to select the widget.
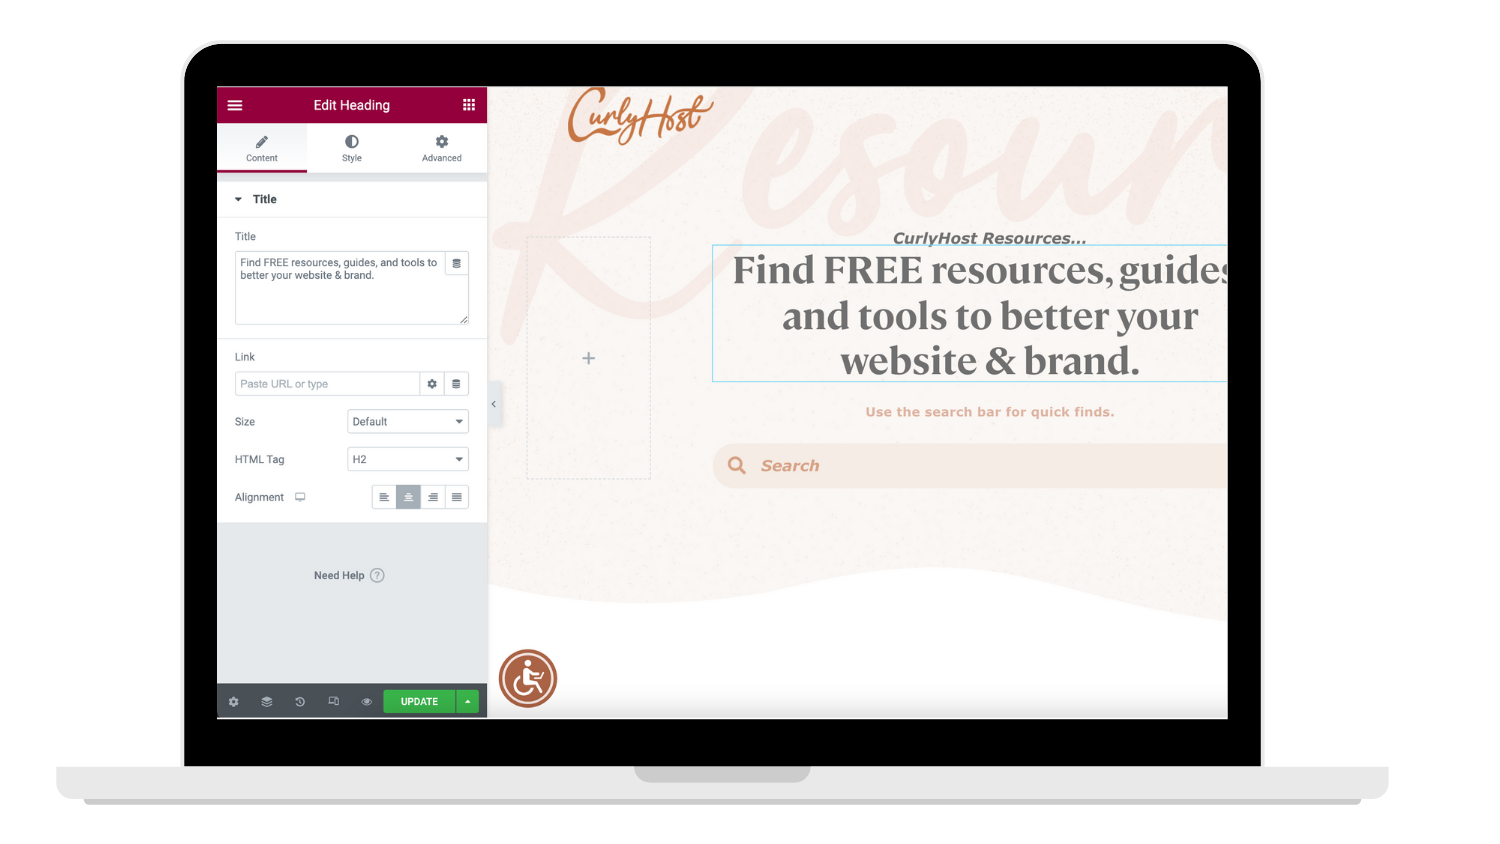
The editor for the selected widget will open on the left side of the screen.
Find the title box in the sidebar and edit the text that is there or delete it and start fresh.
Once you are finished editing, save the page. Click the green ‘Update’ button at the bottom of the editing sidebar.
Text Editor
To edit any widget, hover over the area with your cursor until it is highlighted with a thin blue line. Once it is highlighted, a small editing icon will appear in the top right corner of the box. Click on the highlighted widget or the blue icon to select the widget.
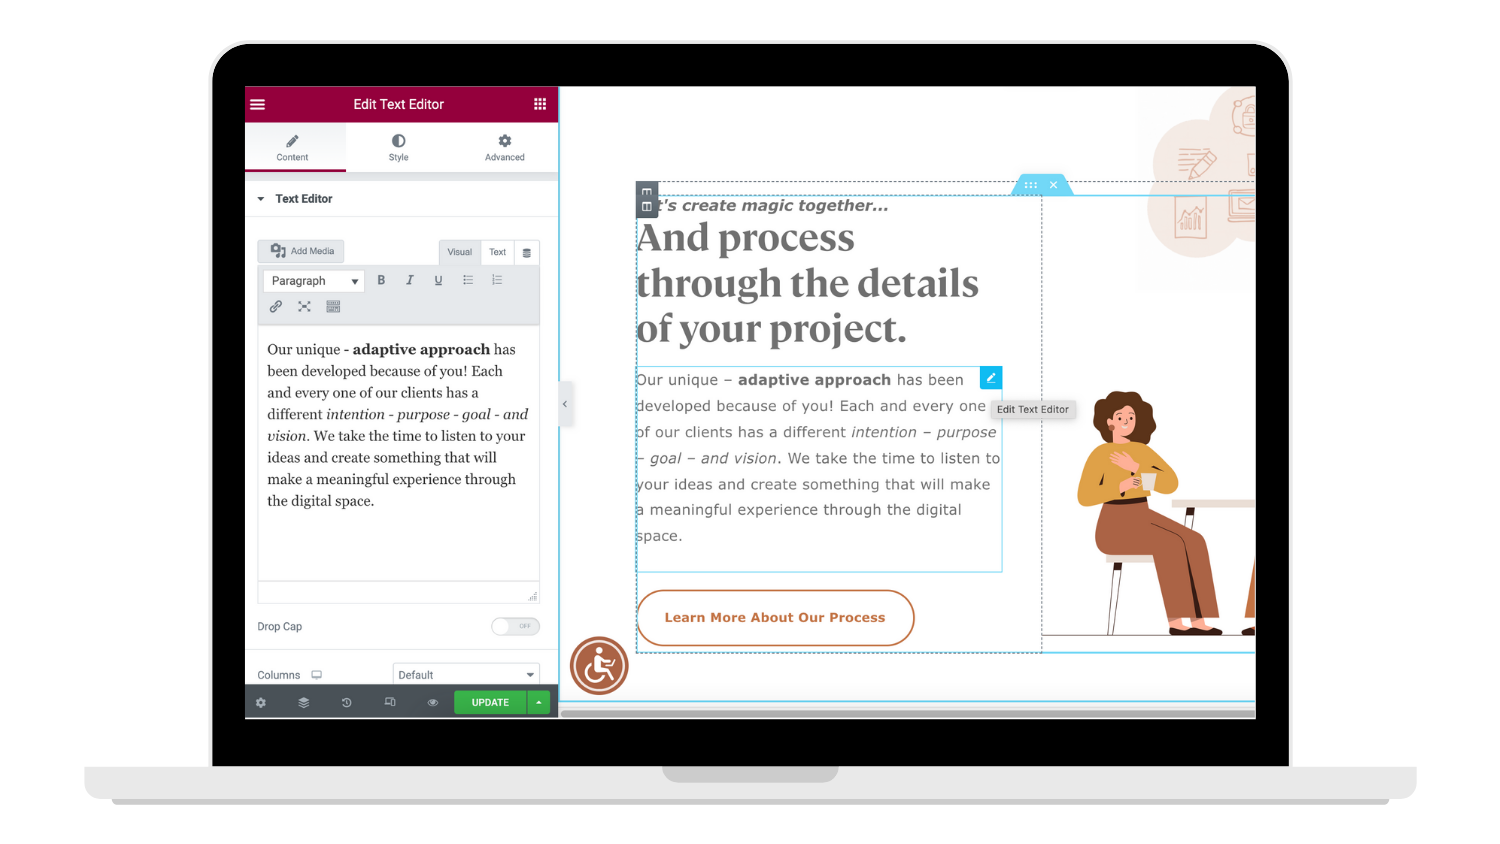
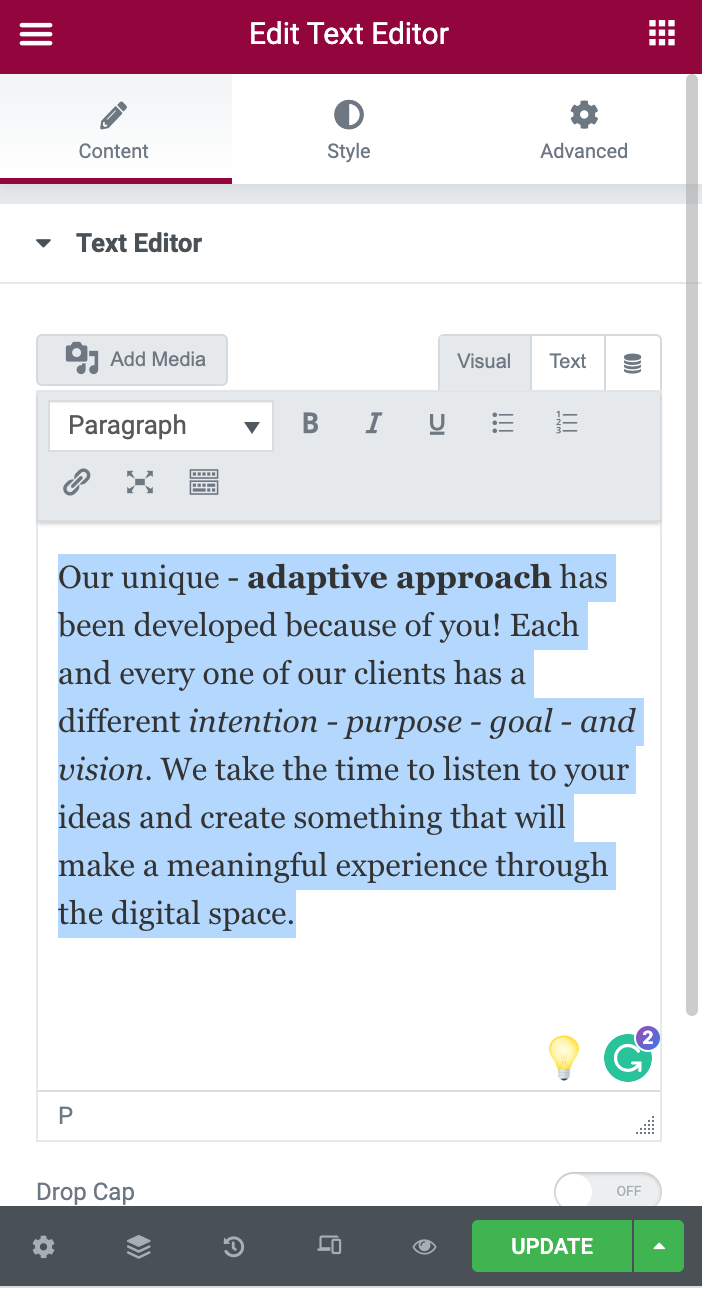
The editor for the selected widget will open on the left side of the screen. Find the text box in the sidebar and edit the text that is there or delete it and start fresh.
This block works similarly to typing an email. You can link text, bold text, change the font size, etc. Explore the text box menu for more options.
Once you are finished editing, save the page.
Click the green ‘Update’ button at the bottom of the editing sidebar.
Icons & Icon Lists
To edit any widget, hover over the area with your cursor until it is highlighted with a thin blue line. Once it is highlighted, a small editing icon will appear in the top right corner of the box. Click on the highlighted widget or the blue icon to select the widget.
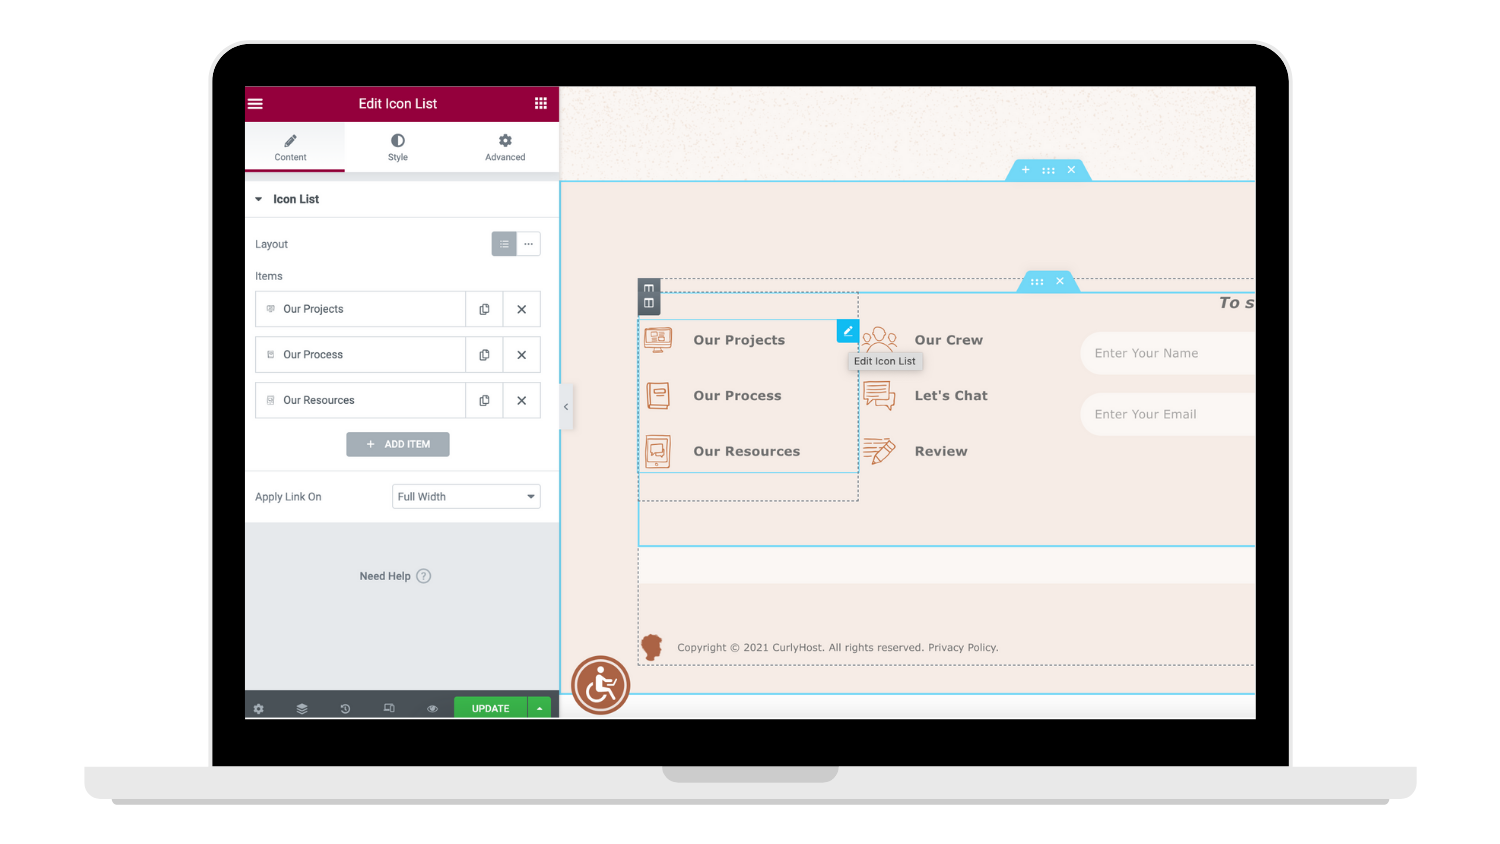
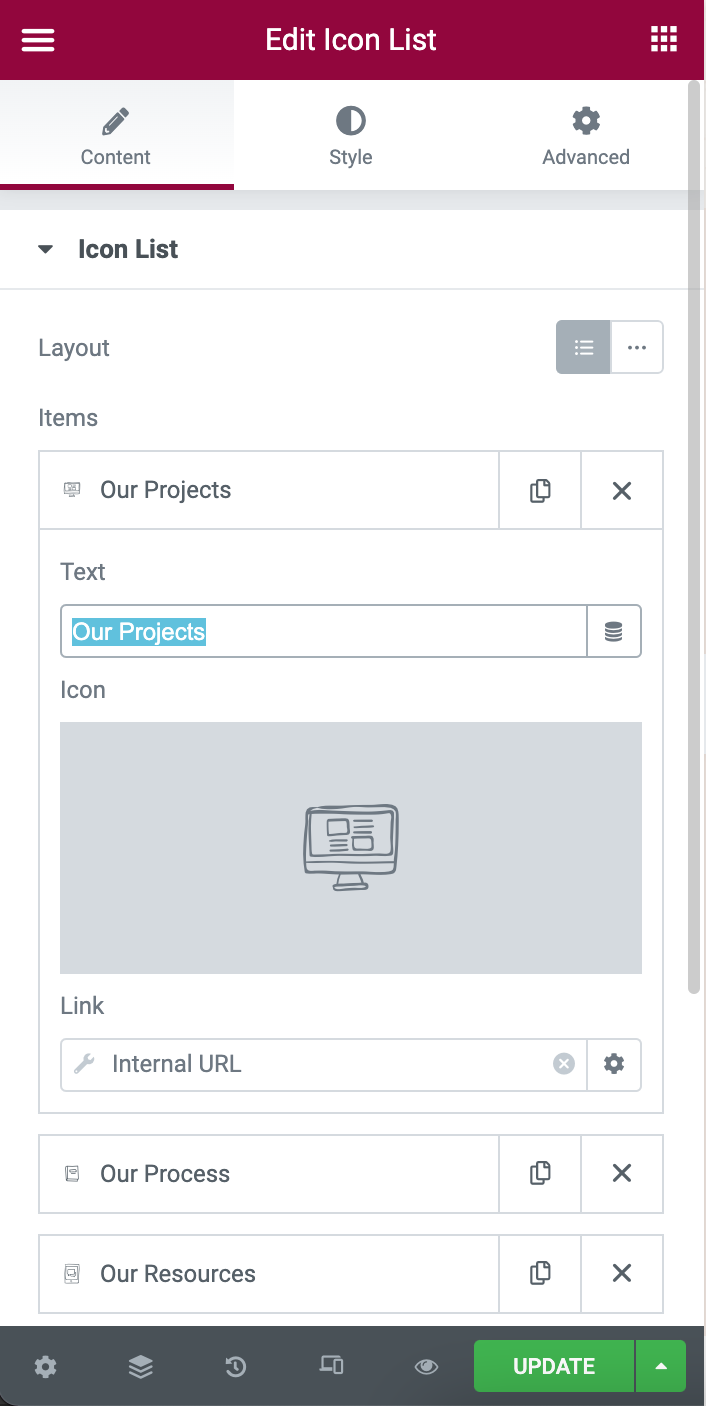
The editor for the selected widget will open on the left side of the screen. You will see a list of items in the icon list or a single icon if you are editing the icon widget. Click on any item to reveal options for editing a specific item.
For this example, we clicked on ‘Our Projects.’ Now that the item has been clicked, options are open below and we can find the text field where we can edit text.
Once you are finished editing, save the page.
Click the green ‘Update’ button at the bottom of the editing sidebar.
Accordions & Toggles
To edit any widget, hover over the area with your cursor until it is highlighted with a thin blue line. Once it is highlighted, a small editing icon will appear in the top right corner of the box. Click on the highlighted widget or the blue icon to select the widget.
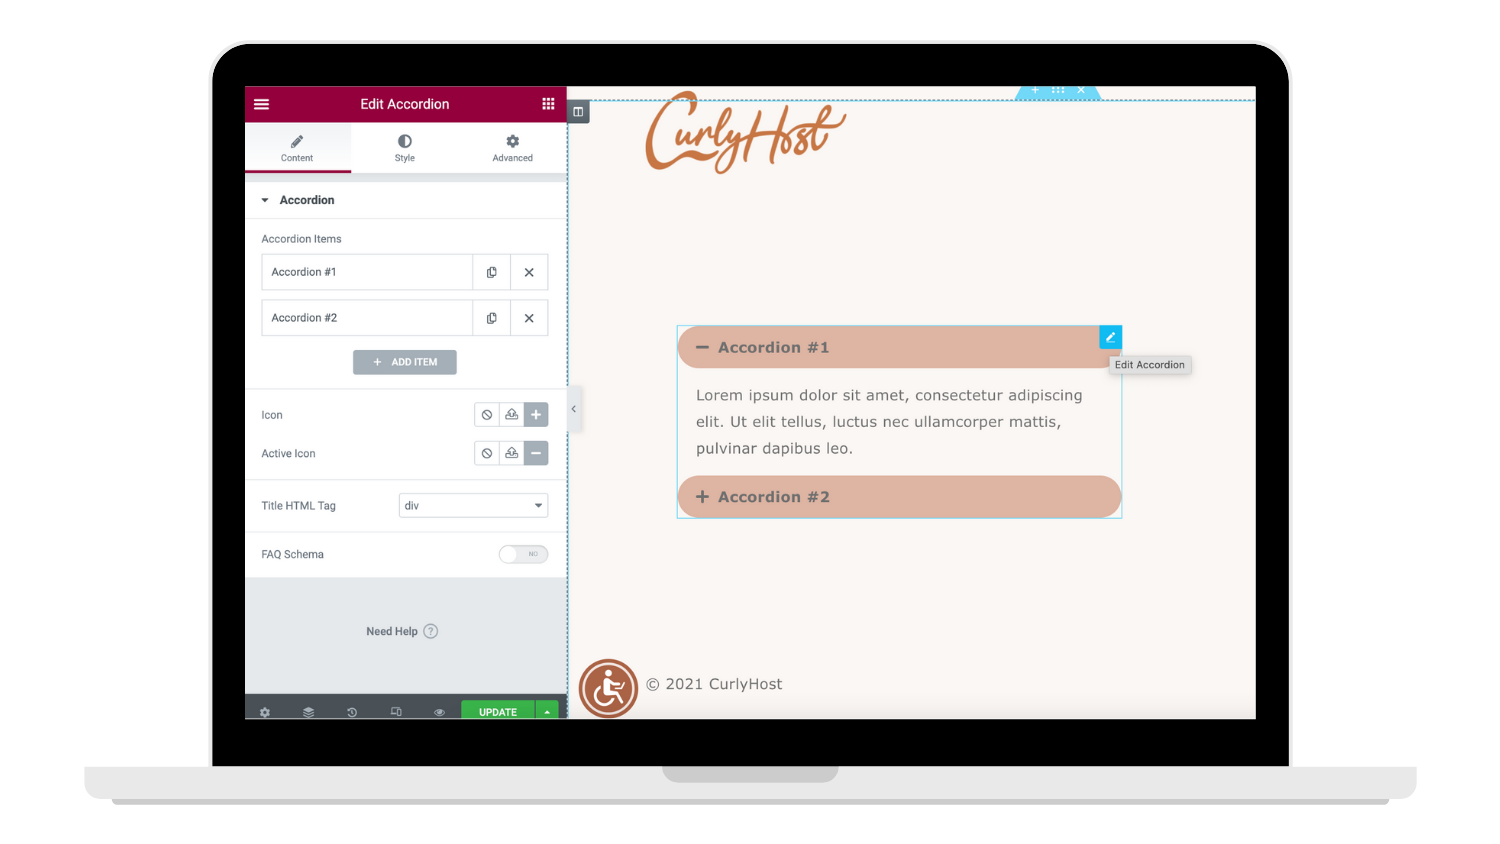
The editor for the selected widget will open on the left side of the screen. Accordion and Toggle widgets are collapsable content holders that are great for condensing large amounts of text into digestable pieces.
You will see a list of items in the accordian or toggle list. Click on any item to reveal options for editing a specific item.
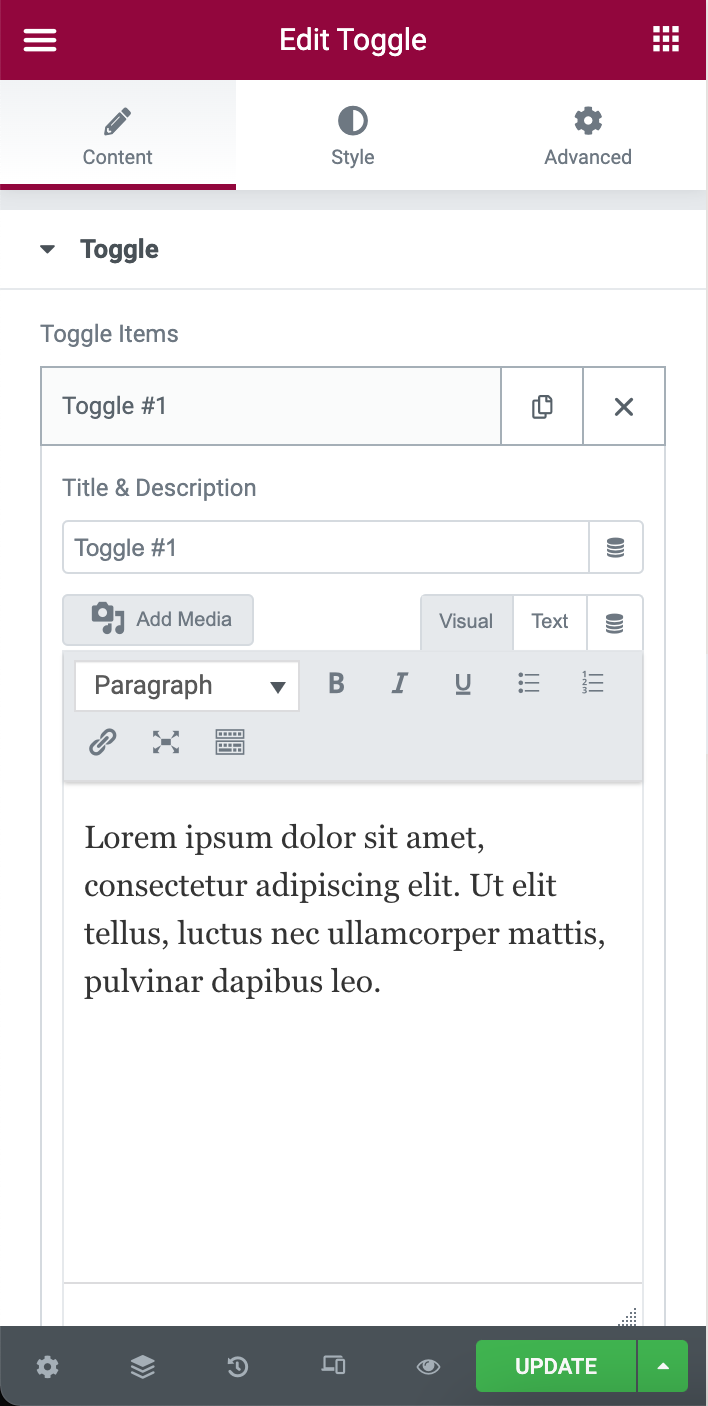
Accordion & Toggle Example:
For this example, we clicked on ‘Toggle #1.’ Now that the item has been clicked, options are open below and we can find the text field where we can edit text.
This block works similarly to typing an email. You can link text, bold text, change the font size, etc. Explore the text box menu for more options.
Once you are finished editing, save the page.
Click the green ‘Update’ button at the bottom of the editing sidebar.
Tabs
To edit any widget, hover over the area with your cursor until it is highlighted with a thin blue line. Once it is highlighted, a small editing icon will appear in the top right corner of the box. Click on the highlighted widget or the blue icon to select the widget.

The editor for the selected widget will open on the left side of the screen. Tab widgets are clickable tabs that are great for condensing large amounts of text into digestible pieces.
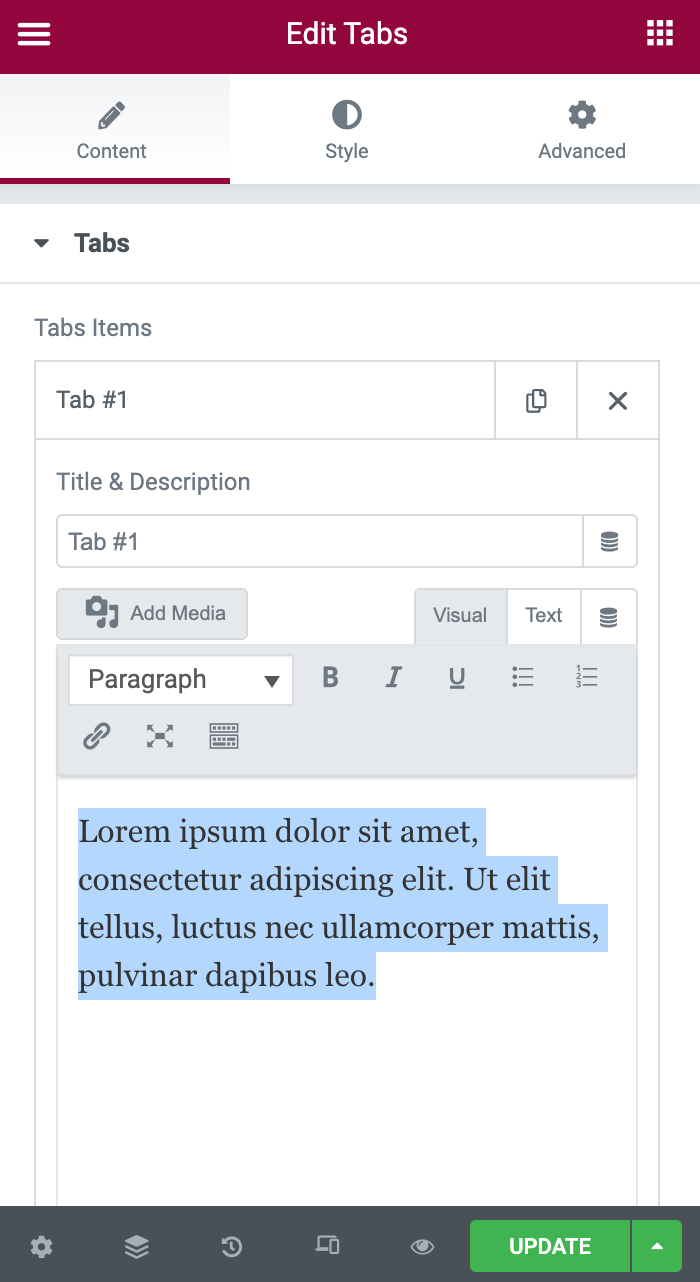
You will see a list of items in the tab list. Click on any item to reveal options for editing a specific item.
Elementor Tab Example:
For this example, we clicked on ‘Tab #1.’ Now that the item has been clicked, options are open below and we can find the text field where we can edit text.
This block works similarly to typing an email. You can link text, bold text, change the font size, etc. Explore the text box menu for more options.
Once you are finished editing, save the page.
Click the green ‘Update’ button at the bottom of the editing sidebar.
Your website is unique. The CurlyHost team took time and a LOT of thought in creating something that would fit your brand + voice, look fabulous and most importantly function to fit your needs. Make sure to check out our other guides to dive in deep and come out feeling confident about your website.